Tips for Capturing Stunning Zoo Animal Photos
Issue 158
My latest course, PHOTOSHOP UNLEASHED, is on PRESALE. Save BIG During this sale.
Photographing animals at the zoo presents a unique challenge for photographers. You often deal with barriers like glass and fences, unpredictable lighting conditions, and, of course, animals that aren’t always cooperative. But with the proper techniques and tools, you can create striking images that capture the essence of these creatures. Here are some tips to help you get the best photos during your next zoo visit.
1. Choosing the Right Focal Lengths
Animals can be quite far from you in a zoo environment, so having the correct focal lengths is vital. A zoom lens with a focal range between 70mm to 300mm is ideal. This allows you to shoot animals that are a close or a bit further away while allowing for tighter compositions without physically getting too close. If you're fortunate enough to have a longer lens, such as a 400mm or 500mm, it can bring even more distant subjects closer and allow you to isolate them effectively against their surroundings.
2. Shutter Speed and Aperture Settings
In general, animals in a zoo aren’t moving as quickly as they might in the wild, so you won’t often have to use incredibly high shutter speeds. I try to use the inverse focal length rule—that is, for example, if I’m shooting at 200mm, I try not to allow my shutter speed to fall below 1/200th of a second. 50mm—1/50th of a second, etc. Those speeds would be much too slow for an animal in the wild.
Of course, if an animal moves quickly within their enclosure, I’ll up the shutter speed accordingly.
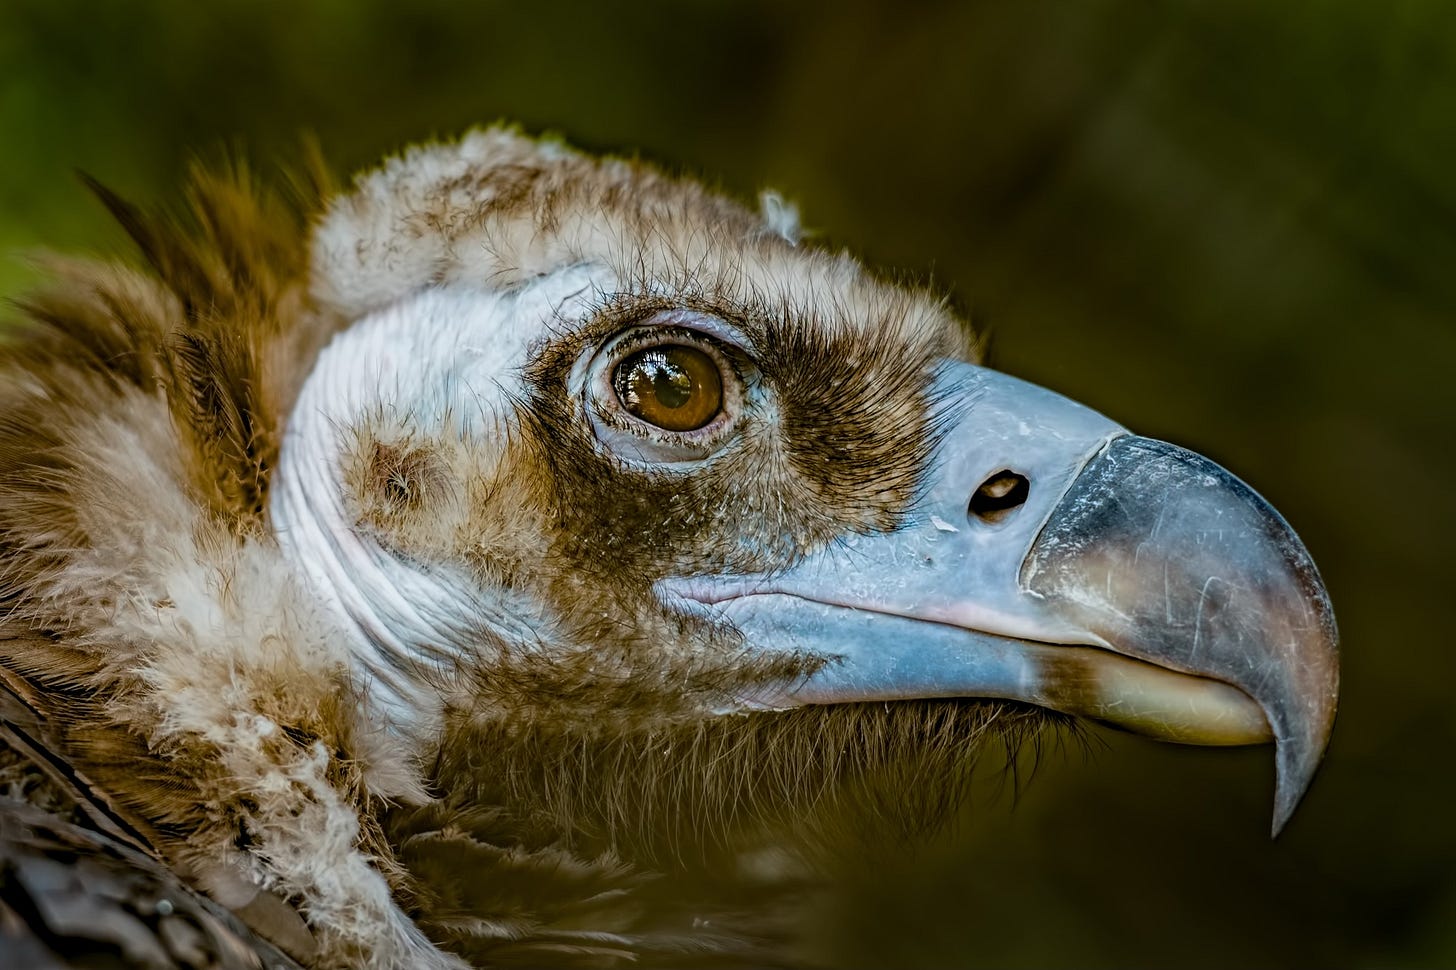
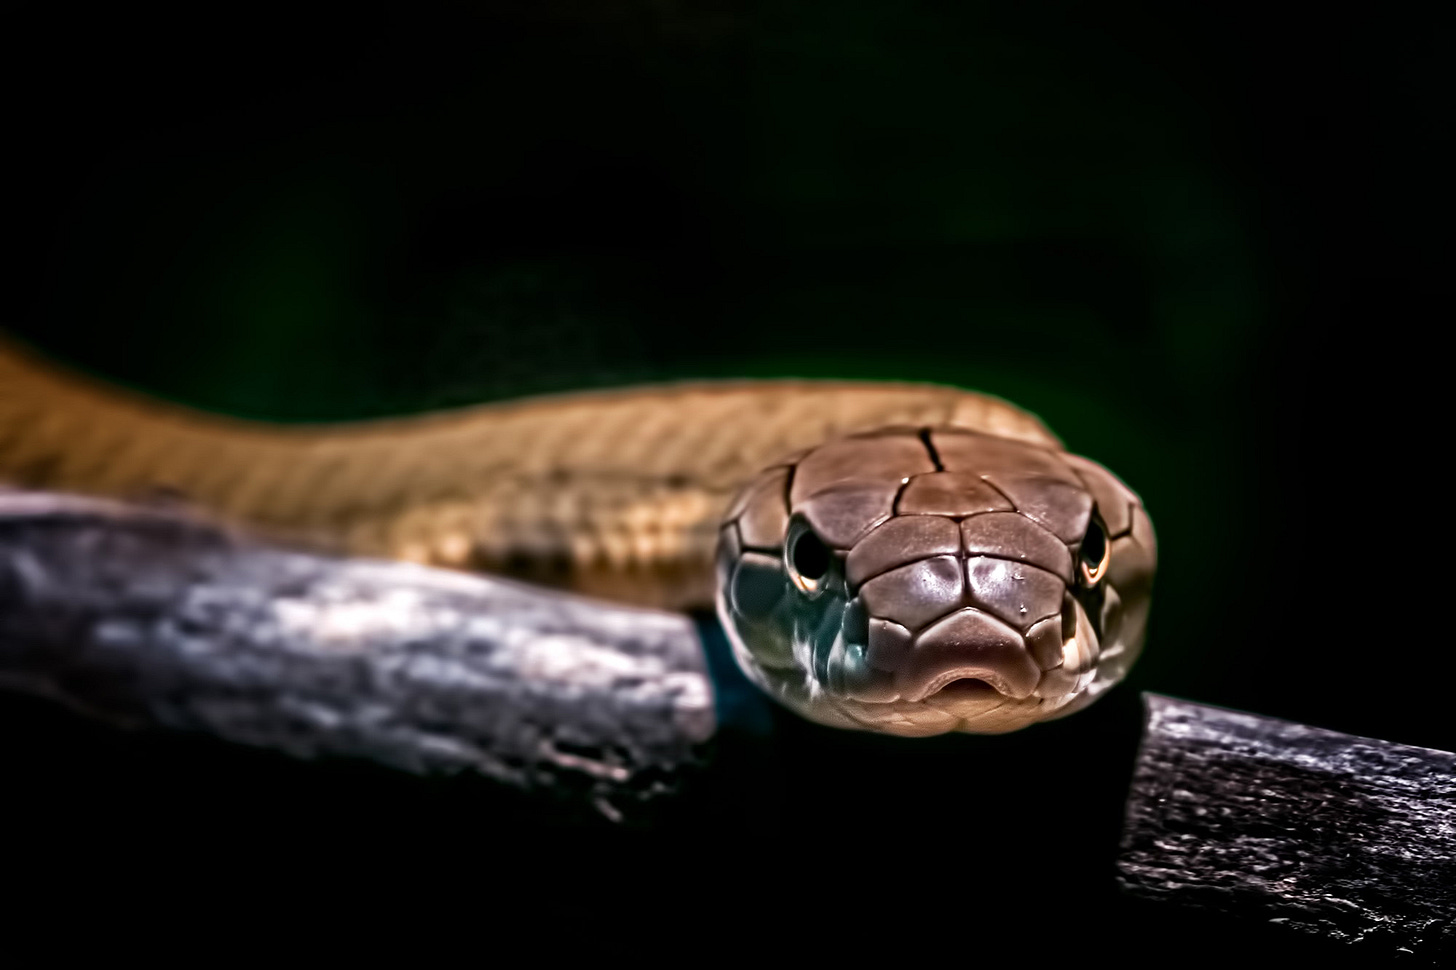
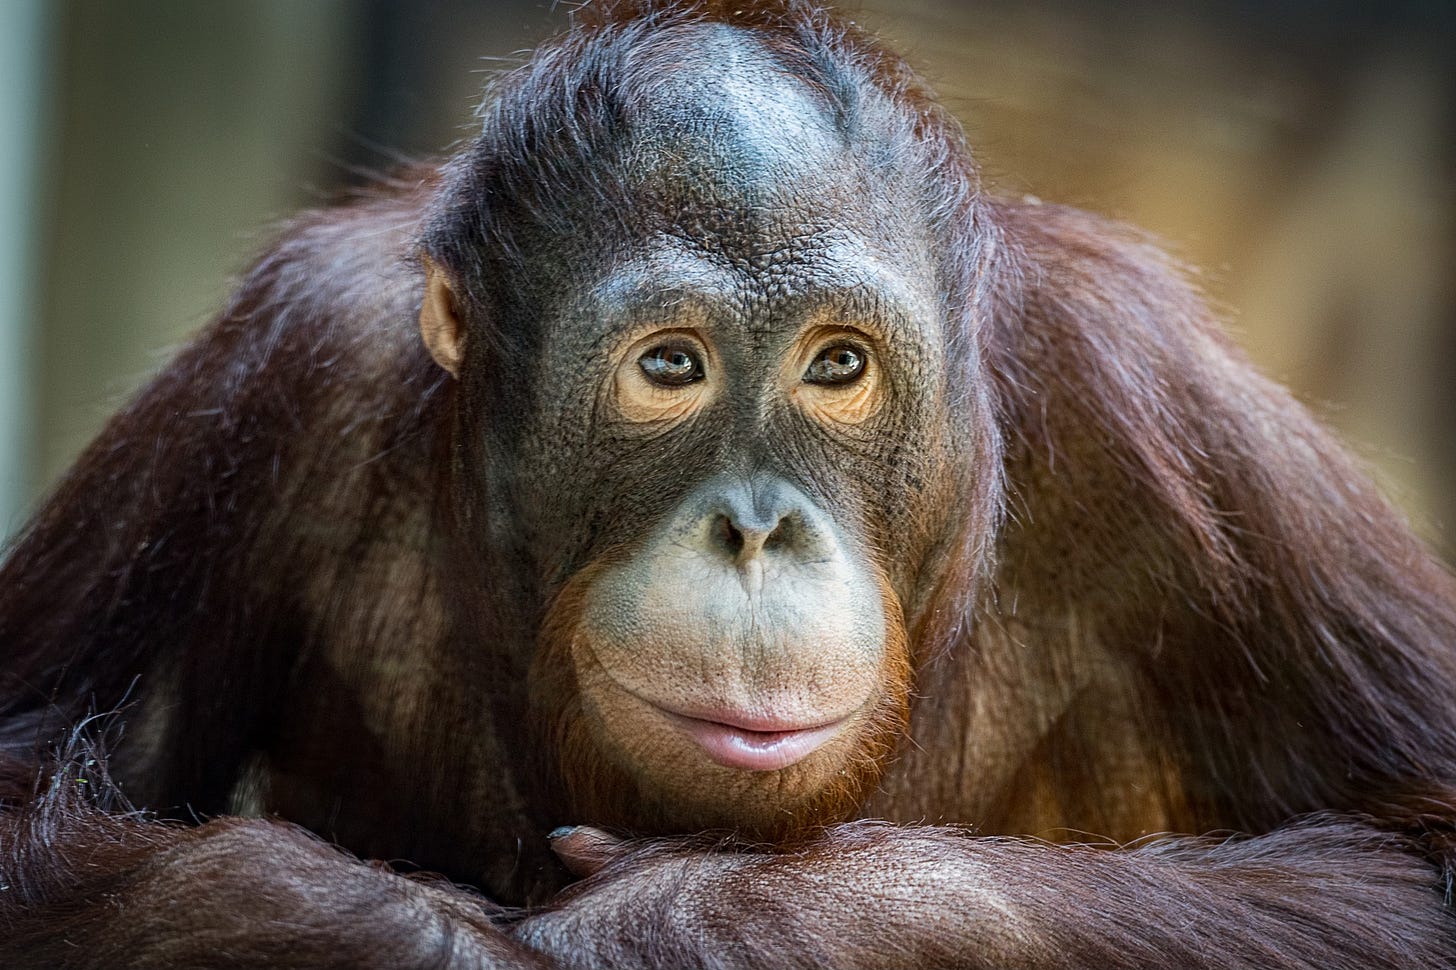
Many claim that It’s generally best to use a wider aperture (like f/2.8 or f/4). A wide aperture helps blur distracting backgrounds and allows you to shoot with faster shutter speeds in lower light, which is often the case in zoos. With that said, I typically use two lenses at the zoo – a 70 - 200mm f/2.8 and a 200 - 500mm f/5.6. I tend to keep both of those at f/5.6. As you can see from the images I have included here, the background has been adequately blurred.
3. The Value of Auto-ISO
Zoo lighting conditions can be unpredictable. You might go from bright sunlight to shaded enclosures in seconds. This is where Auto-ISO becomes extremely valuable. By setting your camera to Auto-ISO, you can ensure that your camera adjusts sensitivity to light on the fly. At the same time, you focus on getting the correct shutter speed and aperture settings. It’s instrumental when animals are constantly on the move, making it easier to react without missing a shot.
My Auto-ISO settings are set so the camera will not use an ISO higher than 6,400. With modern, AI-based noise reduction applications, I have no problem achieving a noise-free image in post-production.
Overall, my camera is set to manual mode, Auto-ISO. I set the aperture to f/5.6 and I use the inverse focal length rule for the shutter speed. I adjust the aperture and shutter speed as needed. For example, when I’m in the reptile house—which tends to be dark—I’ll open the aperture as wide as possible and use a slower shutter speed since the reptiles are usually motionless.
4. Eliminating Reflections with LensSkirt
If you shoot through glass enclosures, reflections can be a nightmare. This is where a product like LensSkirt becomes invaluable. A LensSkirt is a portable, flexible hood that attaches to your lens and blocks out light from hitting the glass. By using this tool, you can eliminate the annoying reflections, ensuring that your focus remains on the animal behind the glass. *I have no affiliation with LensSkirt.
5. Shooting Through Chain-Link Fences
One of the biggest challenges at zoos is shooting through chain-link fences. However, with the right approach, you can effectively disappear the fence from your image:
Keep reading with a 7-day free trial
Subscribe to Anthony Morganti on Photography to keep reading this post and get 7 days of free access to the full post archives.


