


Modern Digital Infrared Photography
Issue 147 – Capturing the Unseen Spectrum.

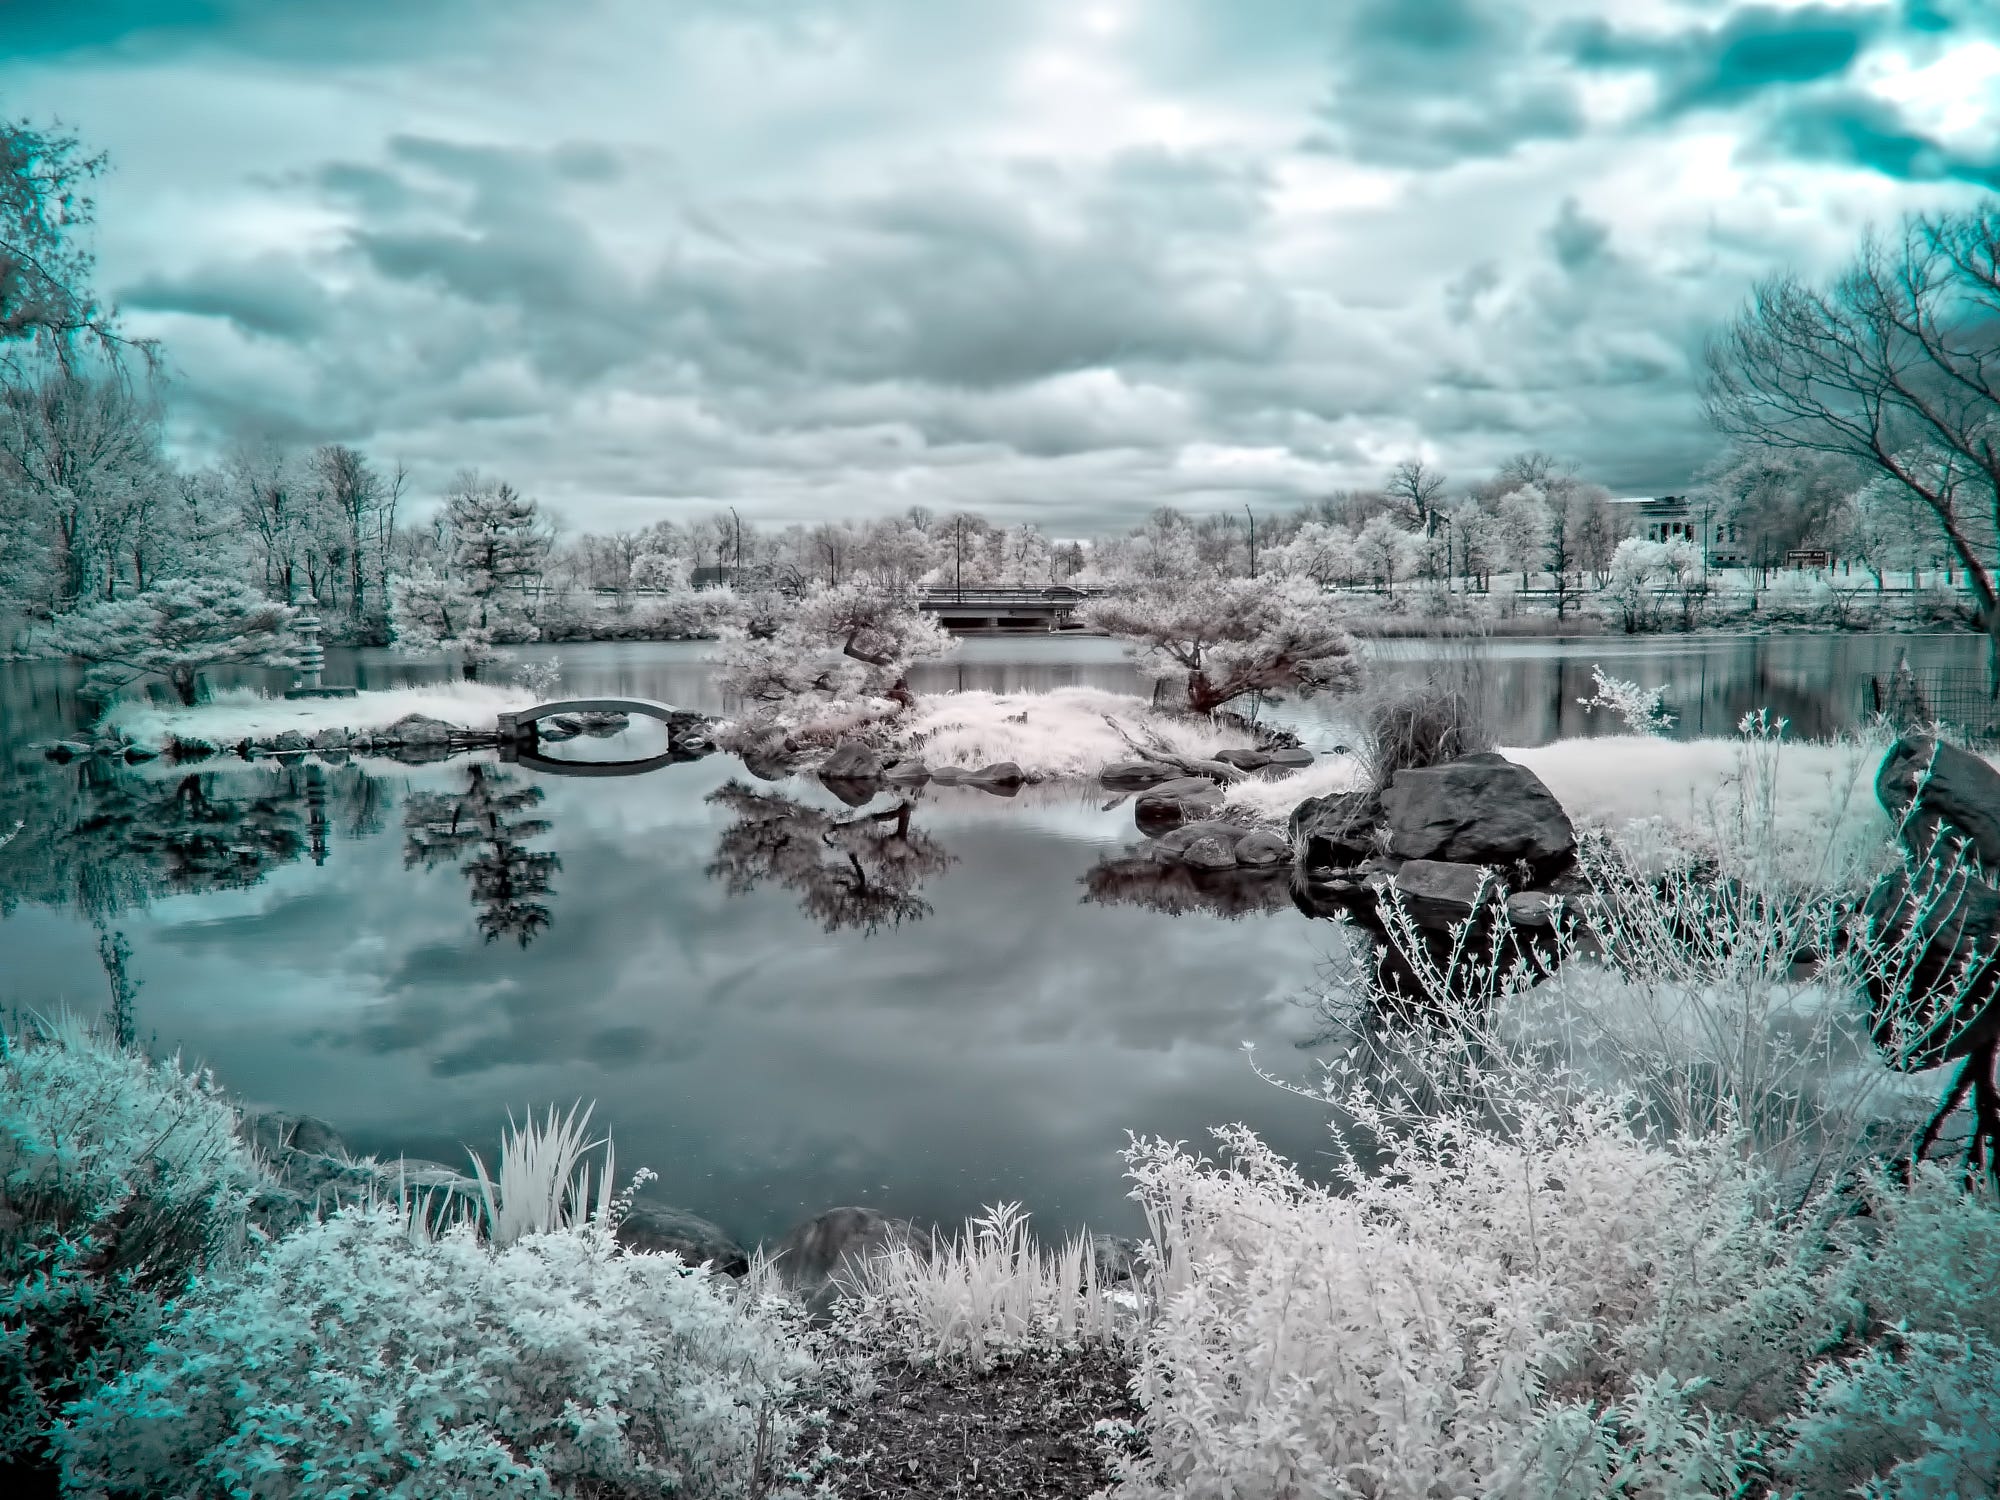
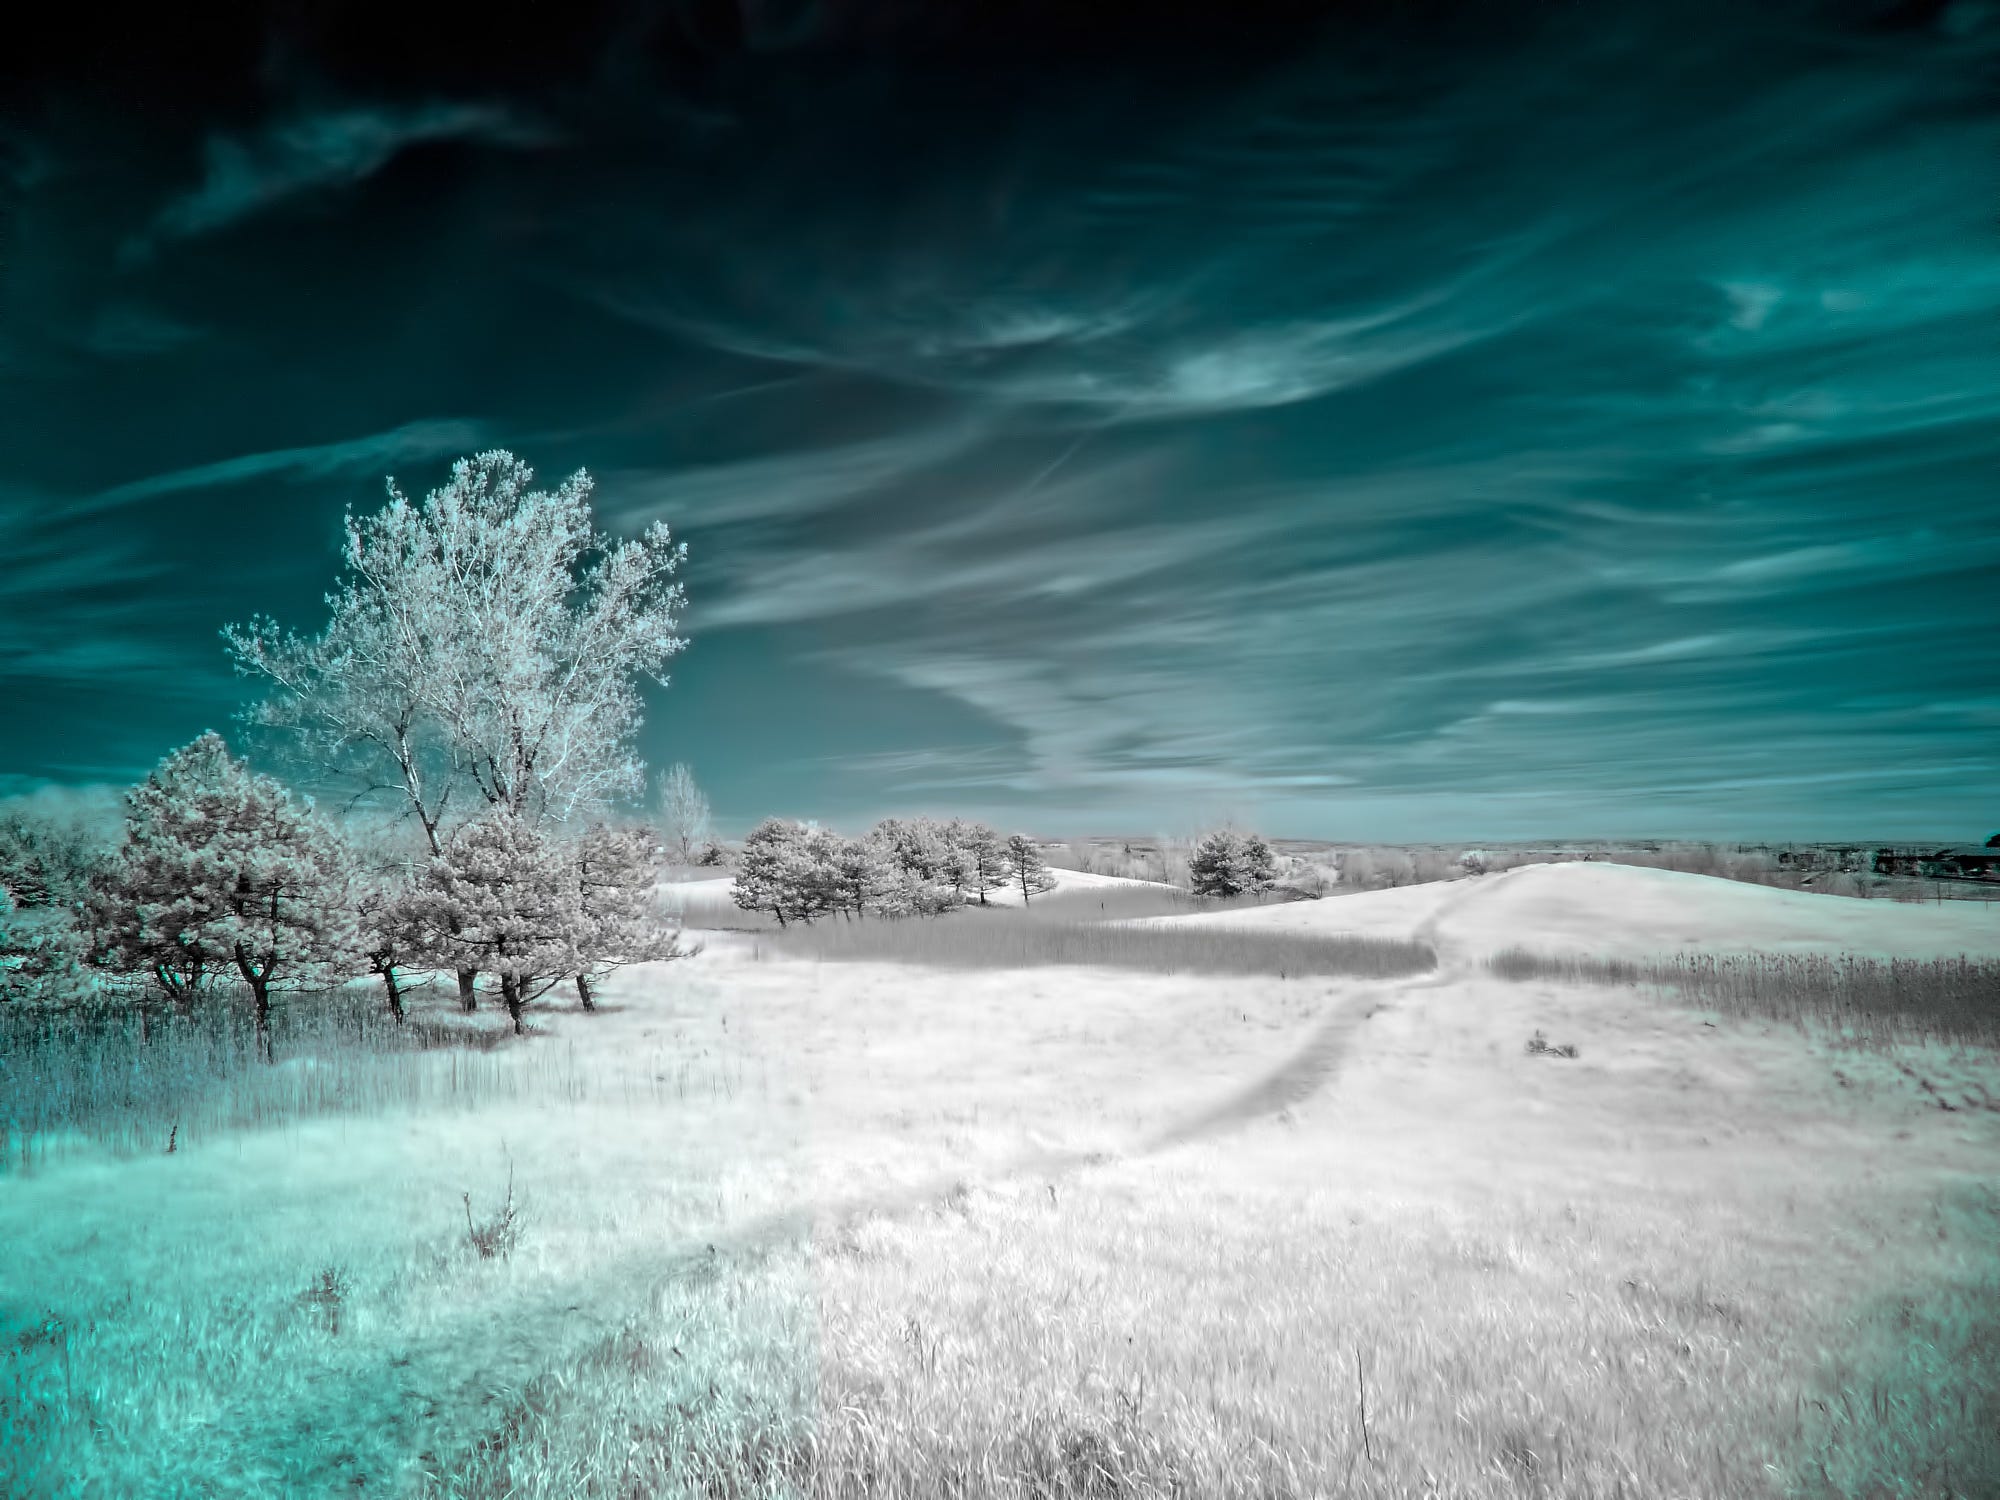
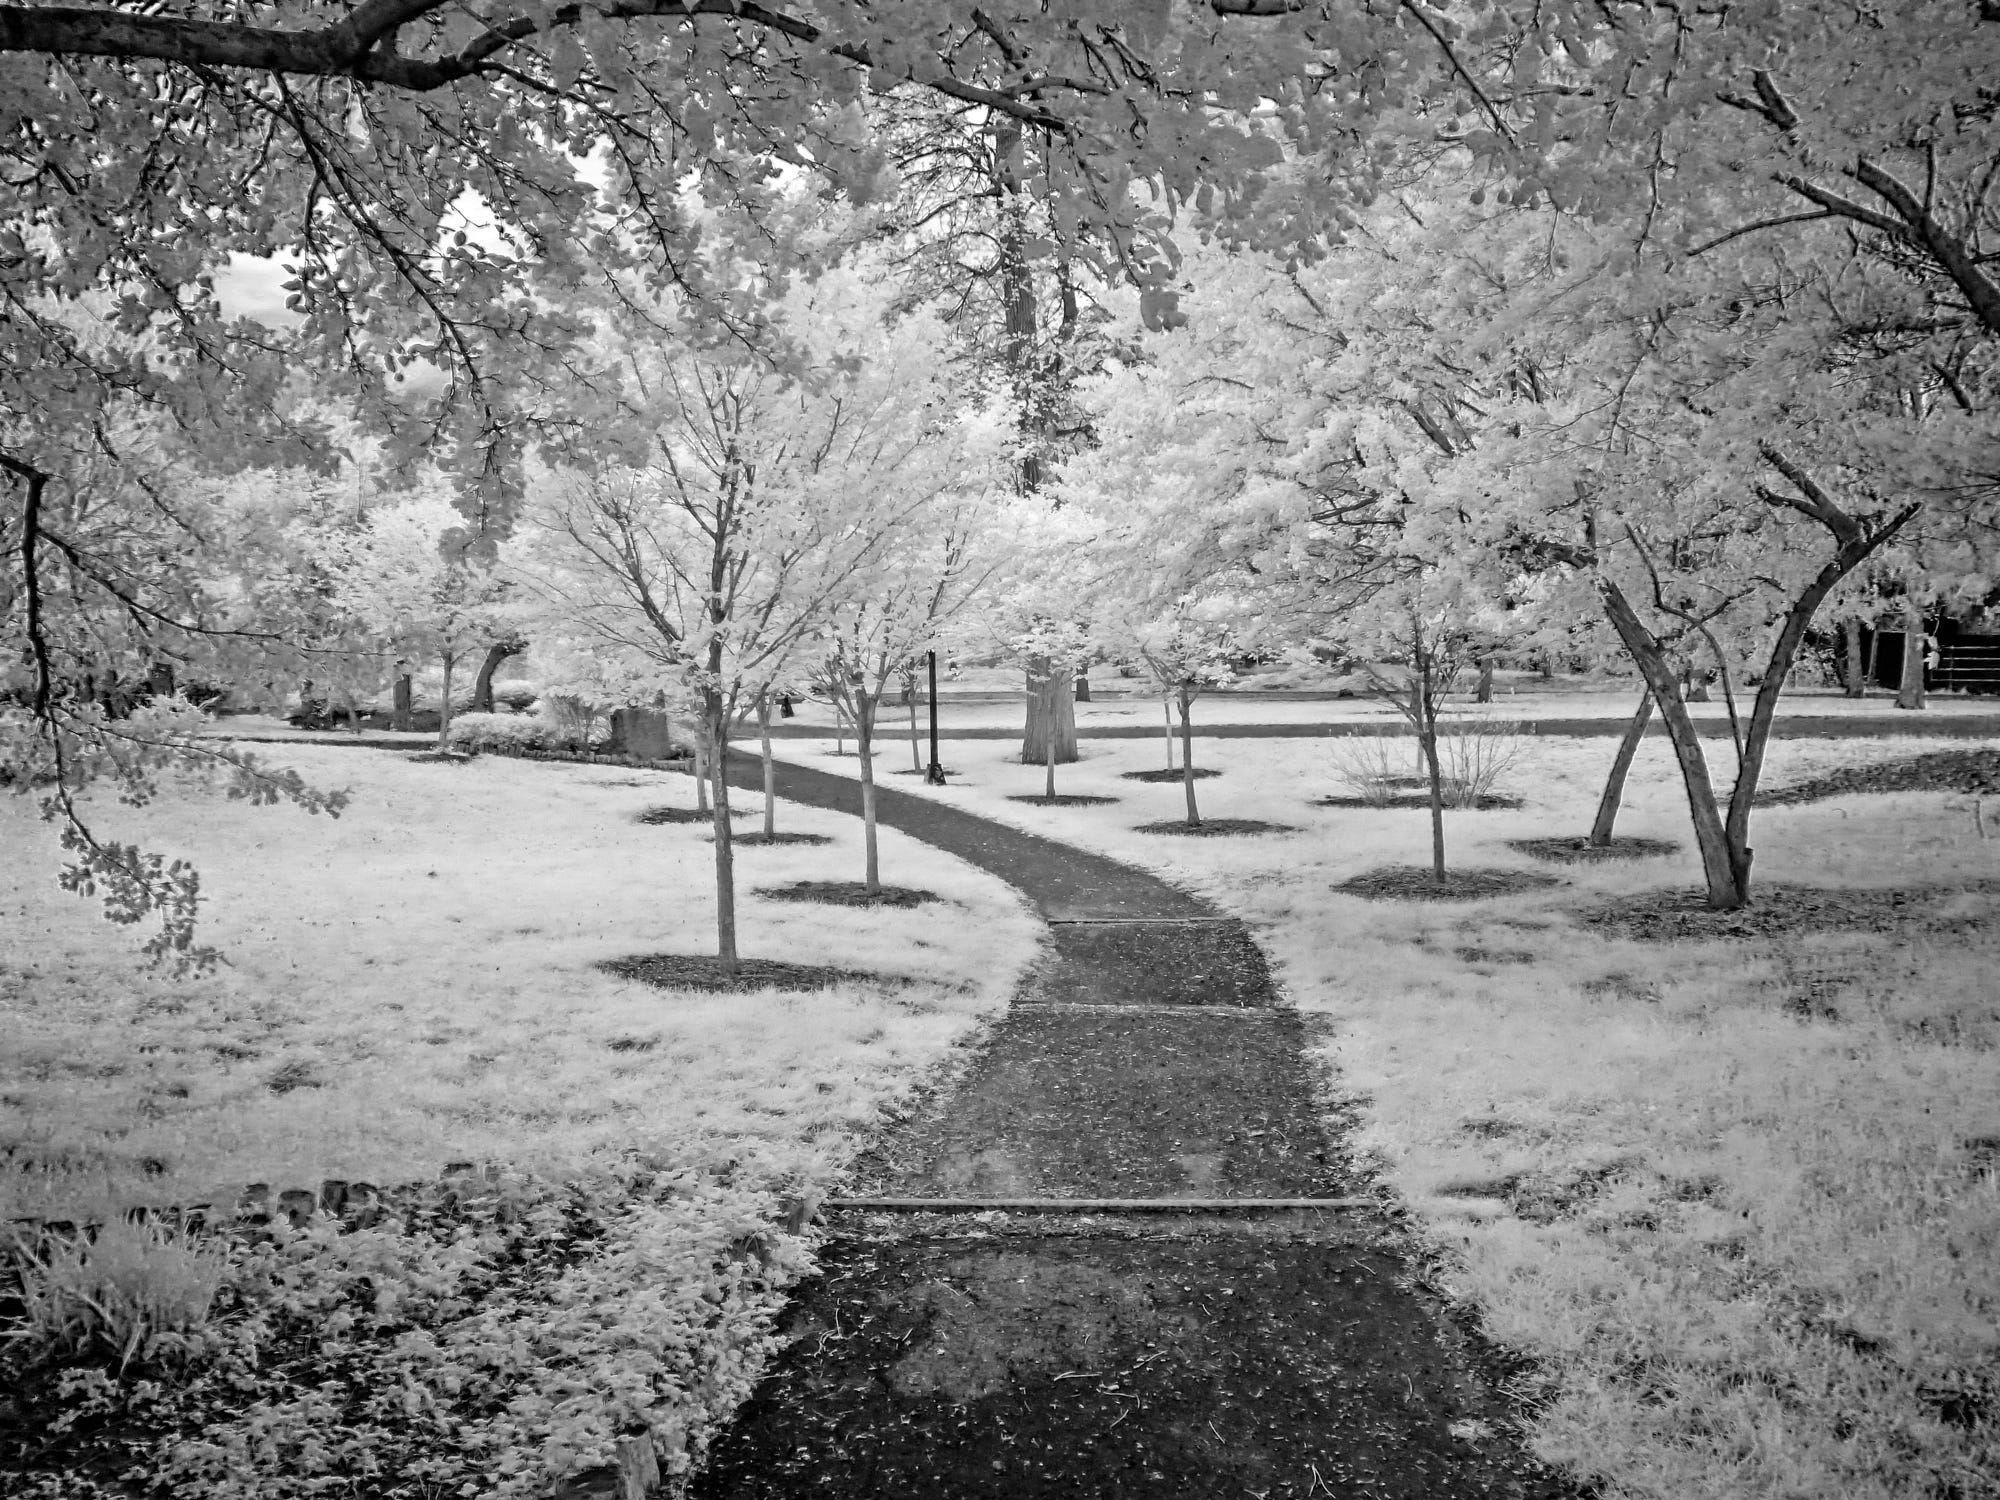
Infrared photography reveals a hidden world by capturing light beyond the visible spectrum. This technique transforms ordinary scenes into ethereal landscapes, where foliage glows white and skies turn forbodingly dark. Modern digital infrared photography can be achieved using filters on the lens of an existing digital camera or converting a digital camera for infrared use. I’ve never gone the lens filter route, although I tipped my toe in the latter. On eBay, I purchased a cheap point-and-shoot camera that was converted for infrared photography by Kolari Vision. The camera is a Panasonic Lumix SZ7 14.1 MP converted to 720nm. All of the pictures in this newsletter were taken with that camera.
Here’s how you can delve into this fascinating genre.
Infrared Photography with Filters
Equipment Needed:
Digital Camera: Any DSLR or mirrorless camera.
Infrared Filter: Common options include 720nm, 850nm, and 590nm filters.
Process:
Choosing the Filter:
720nm Filter: This is the most popular option, balancing visible light and infrared light. It produces the classic infrared look with bright foliage and dark skies.
850nm Filter: This filter blocks more visible light, allowing only infrared light to pass through. The result is a higher contrast, black-and-white image with minimal visible light interference.
590nm Filter: Known as the "Goldie" filter, this allows some visible light, resulting in false-color infrared images where foliage may appear golden or red.
Setting Up:
Attach the chosen infrared filter to your camera lens.
Compose and focus your shot without the filter, as infrared filters are nearly opaque, making it difficult to see through the viewfinder or LCD screen once attached.
Switch to manual focus and exposure settings to lock in your composition.
Capturing the Image:
Attach the filter and set your camera to a low ISO (typically ISO 100 or 200) to reduce noise.
Use a tripod to stabilize your camera. Infrared photography often requires longer exposure times due to the reduced amount of light passing through the filter.
Experiment with different exposure times. I mentioned that I’ve not done any infrared photography using filters, but I’ve read that those that do often use an f-stop around 8.0, iso 100, or 200, and a shutter speed of two minutes. They’ll look at that first test image and adjust their shutter speed as required.
Post-Processing:
Import your images into photo editing software like Adobe Photoshop or Lightroom.
Convert the image to black and white for a classic infrared look, or play with color channels for false-color infrared effects. I explain how to do the latter in THIS VIDEO.
Adjust contrast, brightness, and white balance to enhance the ethereal quality of the images.
Converting a Digital Camera for Infrared Photography
For a more dedicated approach, you can convert a digital camera to capture only infrared light. This involves a professional modification of your camera sensor.
Types of Conversions: